


SNAPBACK LINER – GRADE 6A 100% MULBERRY SILK CHARMEUSE (Patent Pending)
Original price was: $22.99.$14.99Current price is: $14.99.
LUXURY LINED. CONFIDENCE DEFINED.
Meet the Liner your Snapback hat never knew it needed. Crafted from 100% Grade 6A Mulberry Silk Charmeuse. This Snapback Liner brings luxury, hair protection and skin protection into your everyday look. Silk’s natural temperature regulation keeps you cool in the summer and warm in the winter.
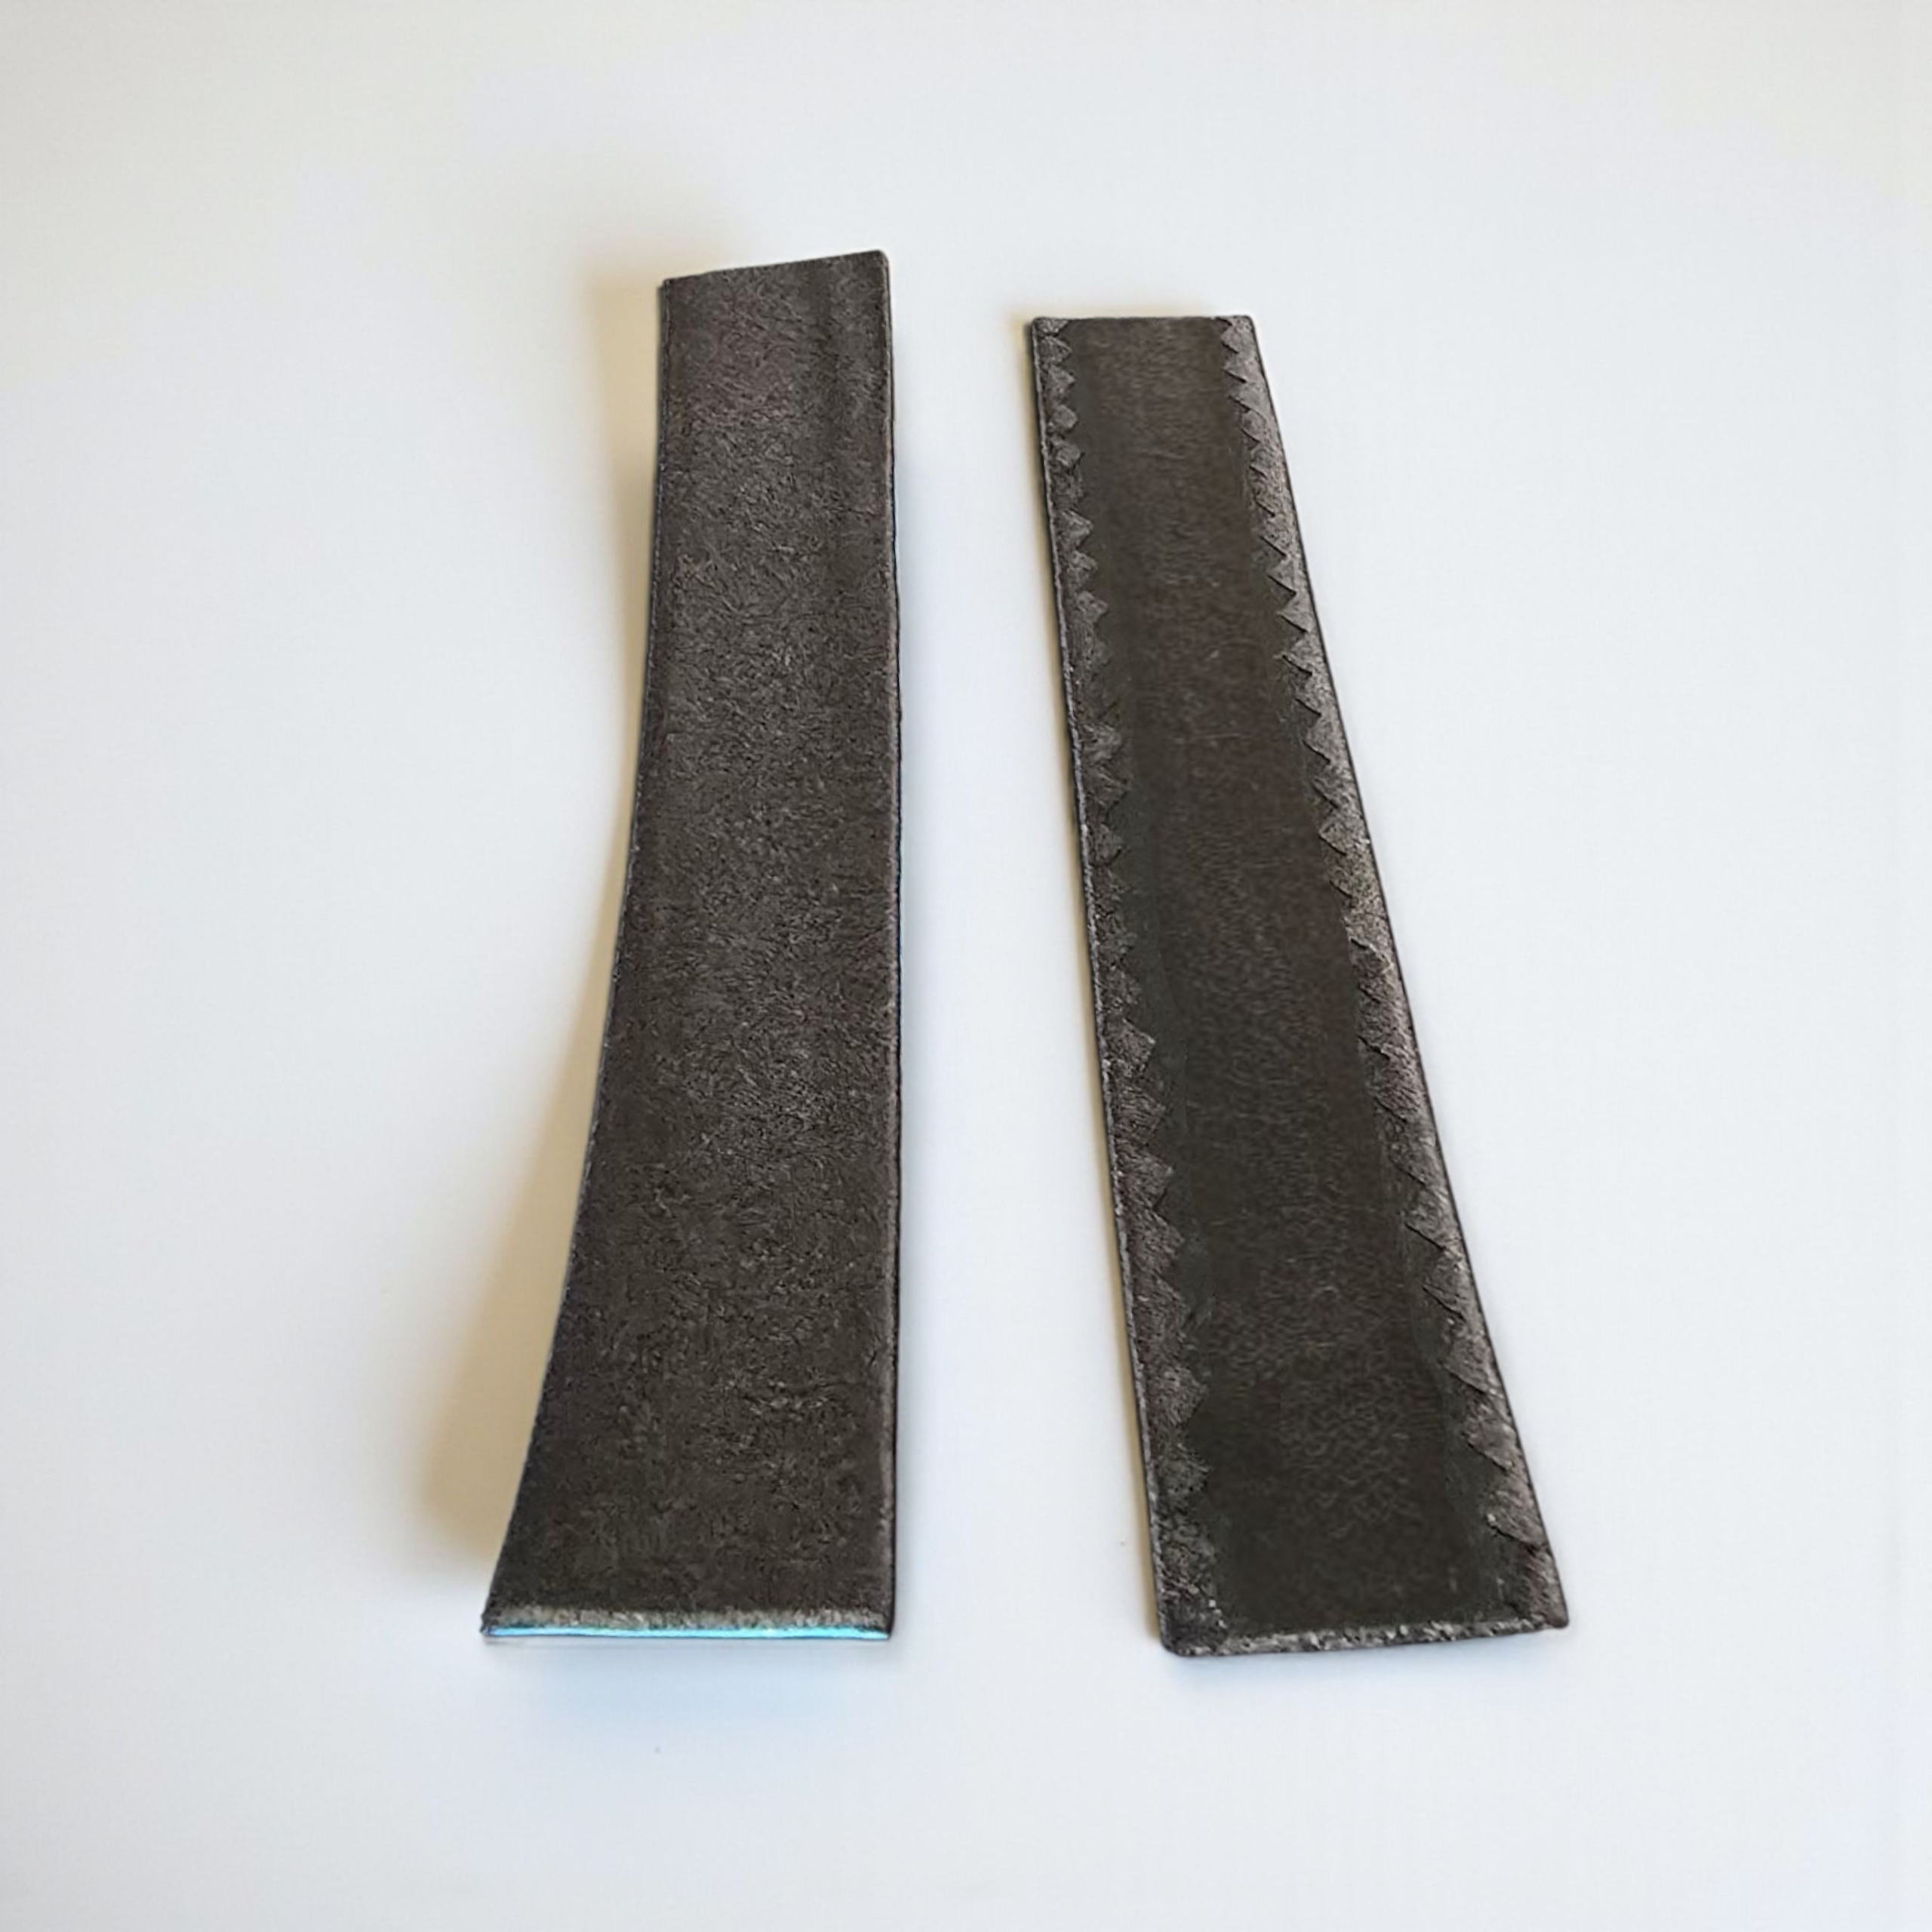
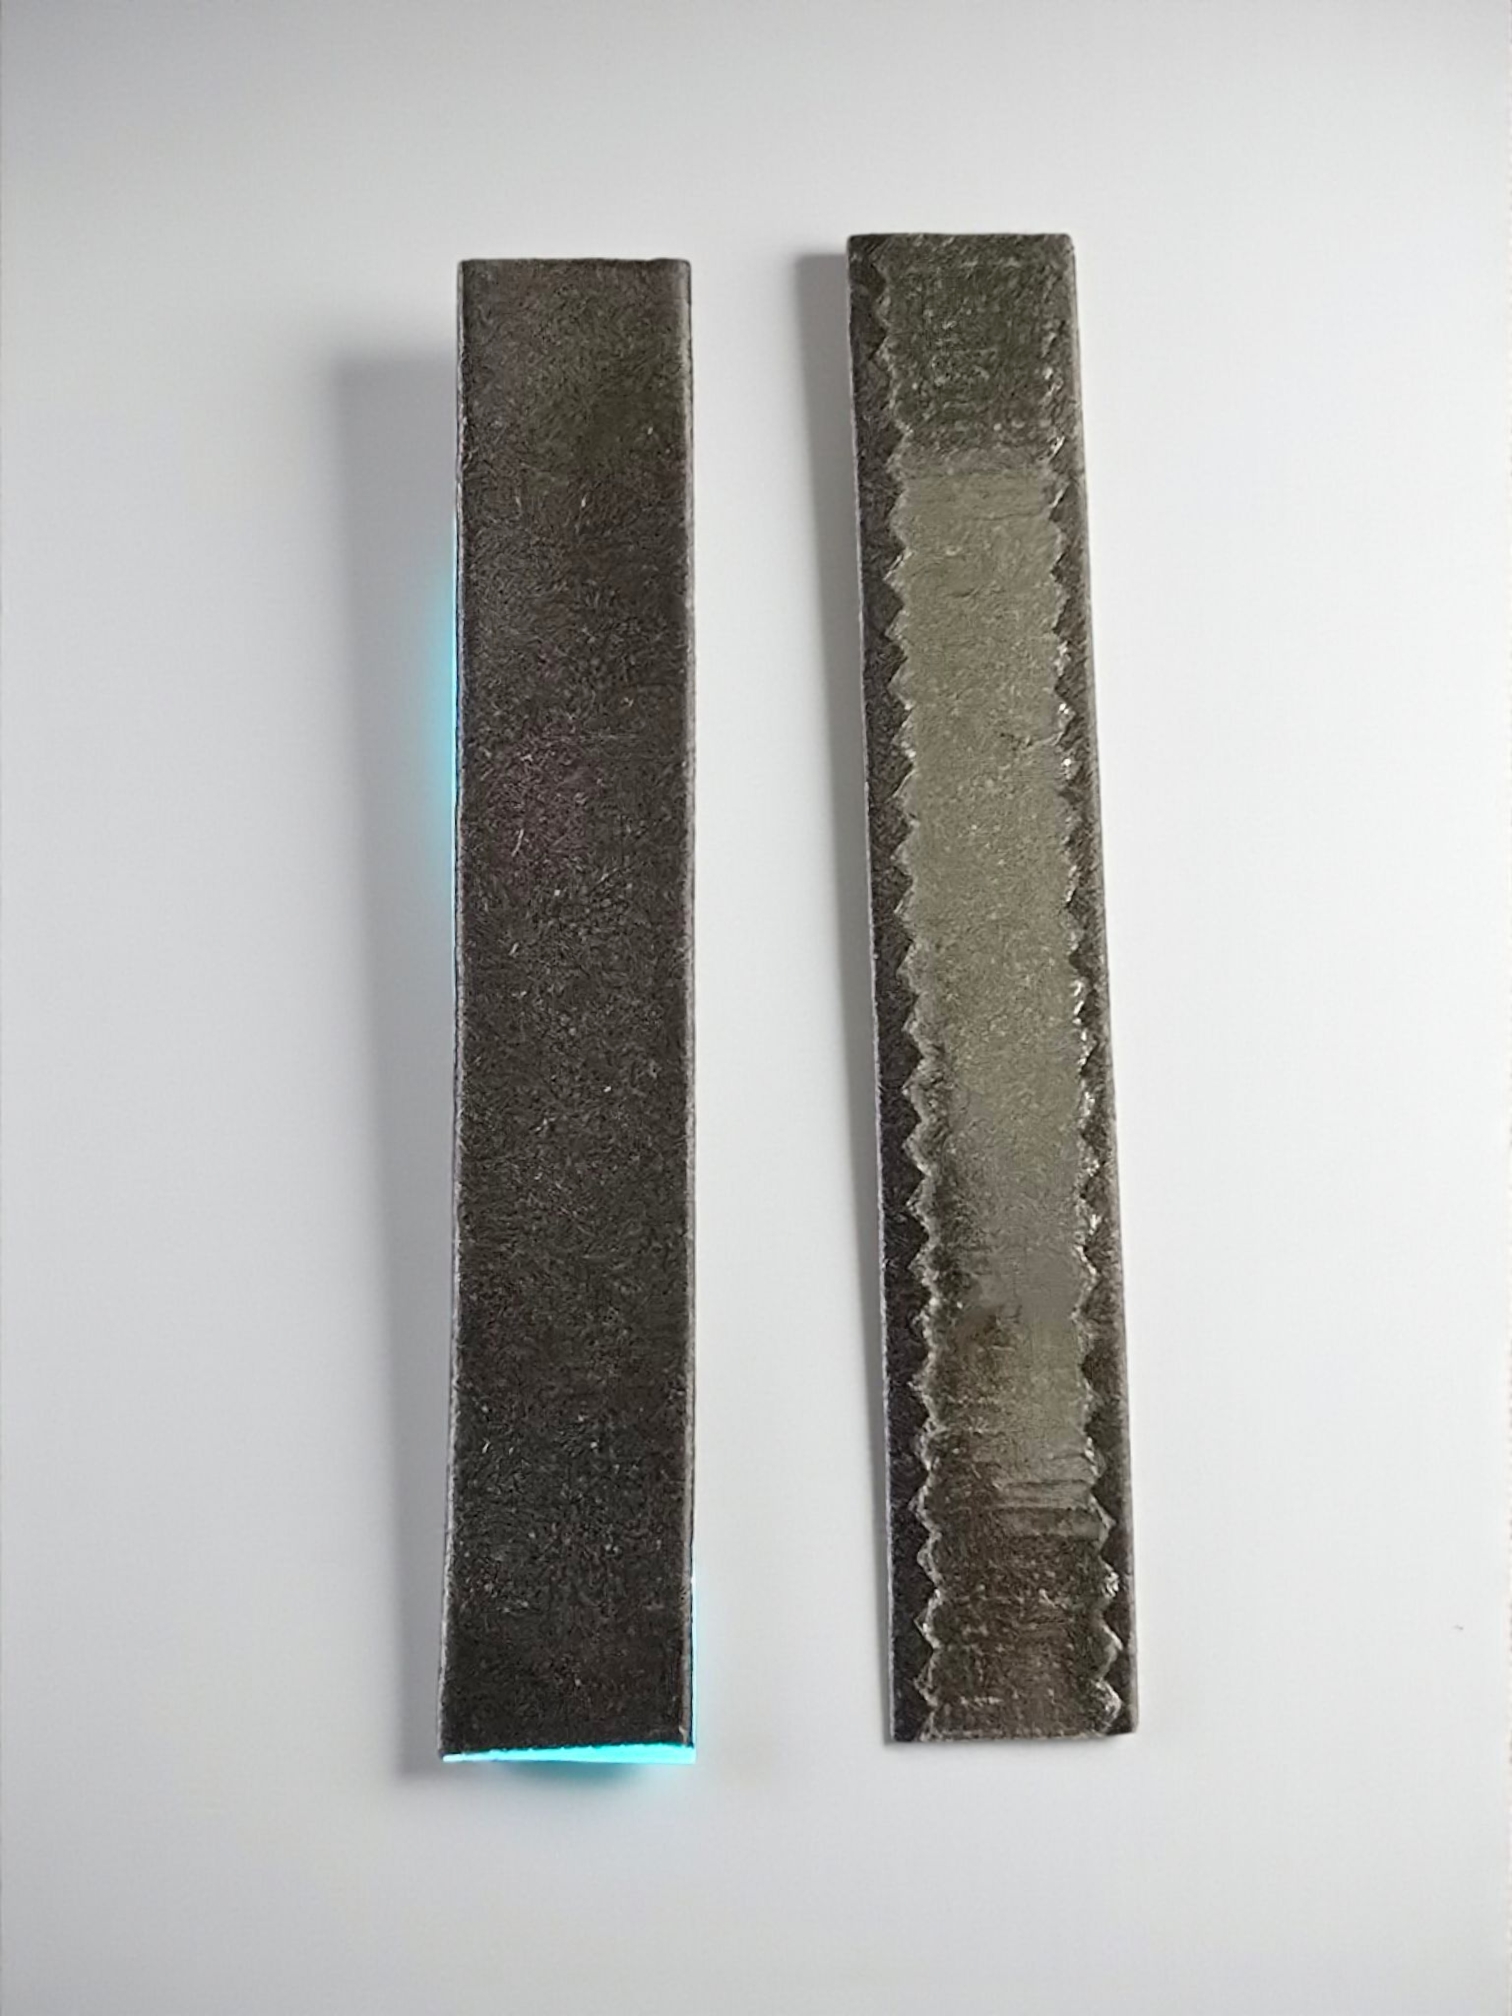
The ultimate accessory for comfort and protection, our silk liner helps shield your skin and hair from friction, irritation, dryness, and breakage. Featuring an ultra-smooth charmeuse weave, it glides effortlessly across your hair and skin each time you take your hat on or off. The wrap-around edges provide full coverage, preventing fabric from peeling or fraying during repeated removal and replacement of your hat—ensuring long-lasting durability and a consistently clean appearance.
Crafted from Long-Strand Grade 6A Silk
This premium-grade silk delivers exceptional durability—resisting pilling, tearing, and thinning over time. Naturally rich in amino acids and proteins, the silk fibers help nourish and protect both hair and skin. As the highest quality silk available, it embodies DANKX’s commitment to being “BUILT TO BE BETTER.” We set the standard for elite athletes and discerning customers who expect uncompromising performance from their apparel.
Our Snapback Liner is designed to work seamlessly with virtually all hat brands on the market. If your hat features a snapback closure, installation is quick and effortless—no modifications needed.
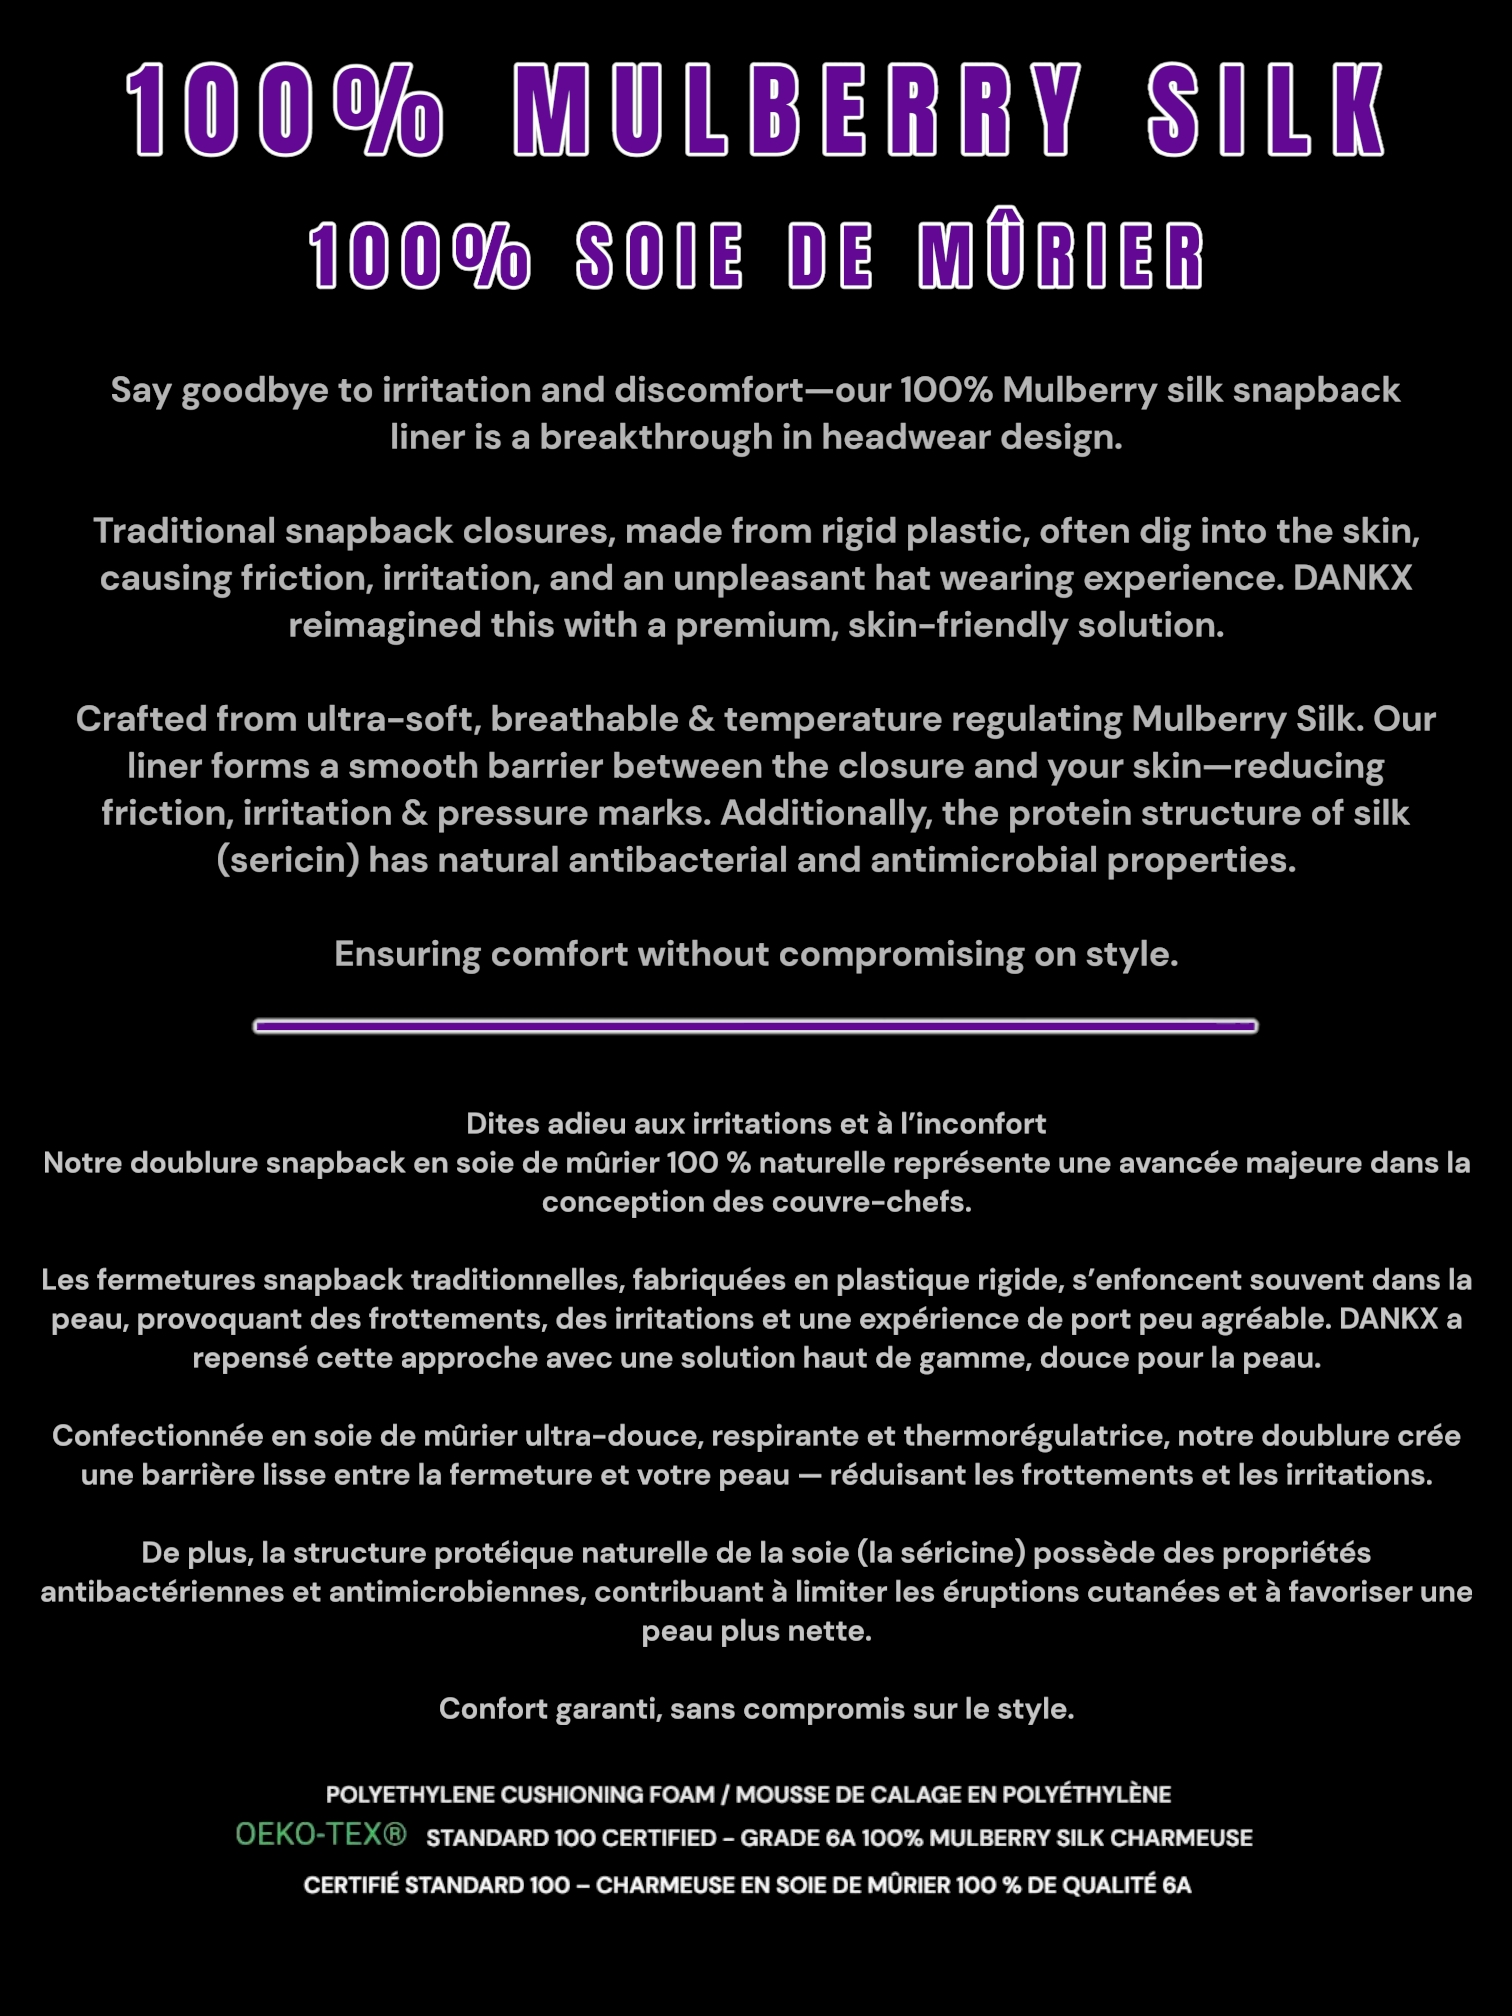
Unlined plastic snap closures often have sharp edges that can press into the skin, leading to significant discomfort. Additionally, prolonged contact between plastic and skin isn’t ideal, as plastic materials can be absorbed by the skin over time and are not considered skin-safe. If you own a snapback style hat, Our Patent Pending Snapback Liner is a must have accessory.
Made from temperature-regulating natural silk fibers, the Snapback Liner delivers lasting comfort, breathability, and a smoother wearing experience—all while protecting your skin from the harshness of plastic components.
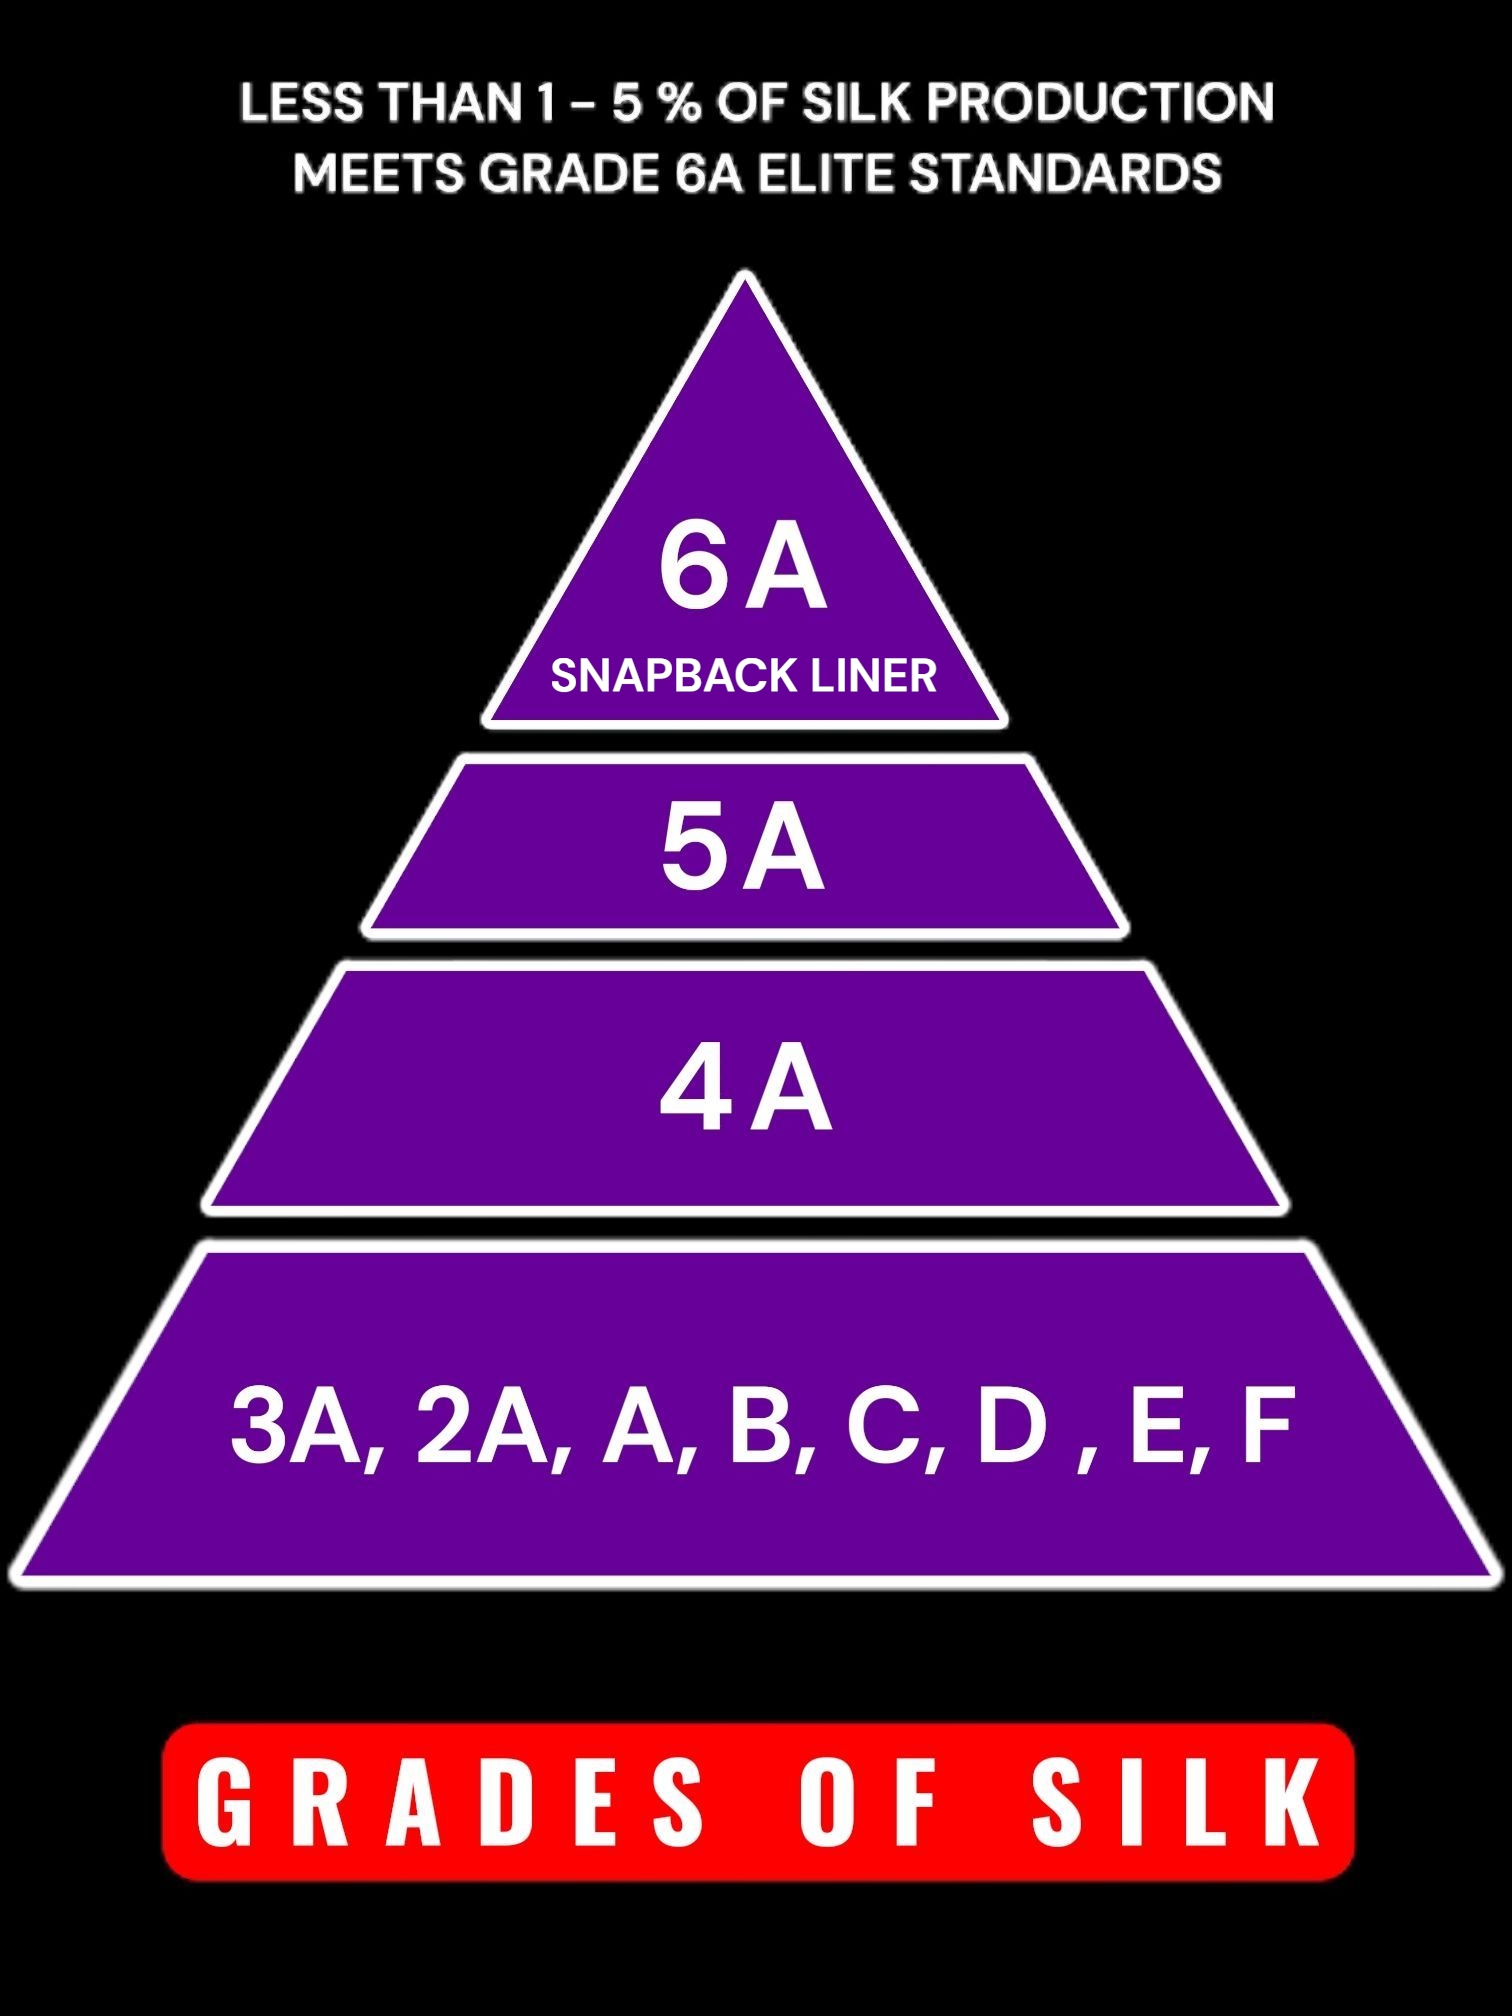
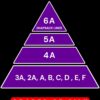
Silk is typically graded by:
Grade (A, B, C) – Quality and condition of silk fibers.
Number (1 to 6) – Fineness and purity, with 6 being the highest.
Grade 6A represents the pinnacle—but keep in mind it’s comparatively scarce and priced accordingly
• Non-Toxic & Naturally Hypoallergenic, Ideal for sensitive scalps or skin.
• Quick drying, moisture wicking performance.
• Designed for athletes and fashion-forward individuals who value both style & self-care.
• Enhances structure and delivers a clean, polished finish to the snapback closure.
• Wrap around edges completely eliminates fabric peel off as you remove and replace the hat on your head.
• Eco-Friendly material – containing several amino acids and proteins that nourish and protect your hair and skin.
• Reduces hair breakage & pulling
• Temperature regulating – Silk’s natural temperature regulation keeps you cool in the summer and warm in the winter.
Thickness levels range from LEVEL 1 (Thinnest 0.5 mm) – LEVEL 5 (Thickest 4.5 mm). The distance between each snap on a snapback closure is generally 9 mm so our level 5 Snapback liner option will create 1/2 of a snap thickness.
Example:
Our Level 1 Snapback Liner is designed for minimal impact, offering a thin profile that maintains the original feel and fit of your hat. Its primary function is to create a soft, skin-friendly barrier between the plastic snapback closure and your skin or hair—effectively reducing friction and irritation, especially for those who wear their hats backwards or if you have very short hair / shaved head.
• LEVEL 1 ( 0.5 mm ) – Maintains original feel of the hat, provides a natural protective barrier between the skin / hair and the plastic snapback closure
• LEVEL 2 ( 1.0 mm ) – Slightly thicker for more cushioning but still maintains the original fit & feel of the hat for the most part.
• LEVEL 3 ( 1.5 mm ) – Creates a seamless inner sweatband effect with most snapback hats
• LEVEL 4 ( 2.0 mm ) – Creates a seamless inner sweatband effect with most snapback hats with thicker materials
• LEVEL 5 – THICKNESS CUSTOMIZED TO CUSTOMER REQUEST ( UP TO 4.5 mm )
FIRST TO MARKET – HYBRID SNAPBACK / FITTED BASEBALL CAP
The snapback style you love with the comfort and fit of a true fitted cap.
If your main objective is to achieve a seamless feeling 360° sweatband for a consistent fit, similar to a fitted baseball cap; Level 3 ( 1.5 mm ) or Level 4 ( 2.0 mm ) liners are generally the most common for accomplishing this. They offer a balanced combination of comfort, consistency, and secure fit around the full interior ring of the cap. However, every hat fits differently, we recommend testing the fit first to determine which liner thickness will deliver the most natural, snug feel for your head shape and style.
• Variable thickness levels are designed for you to create the perfect fit for your hat and to adjust the “DIP” depth on the plastic snap closure. You can keep it thin or build it up as needed to make your hat fit just right. If you get a haircut or growing your hair out, the liners can also help with solving the problem of having your hat feel too loose or too tight by reducing or building up the thickness level options.
Snapback convenience. Fitted feel. No compromises.
SNAPBACK LINER INSTALLATION INSTRUCTIONS
1. Adjust the Snapback Closure:
Before installing the Snapback Liner, adjust the snapback closure to your preferred fit.
Tip: If the first snap feels too tight and the next up feels too loose, choose the looser snap and install a thicker Snapback Liner to achieve a more secure fit.
2. Clean the Closure:
Thoroughly clean the plastic snapback closure using an alcohol swab to remove any dirt, oil, or residue. This helps ensure proper adhesive bonding.
3. Install the Liner:
Remove the release liner to expose the adhesive. Carefully align the Snapback Liner with the edges of the plastic closure and press it into place.
4. Trim to Fit: ( Most common practice )
– OPTION 1 : Use scissors to trim the liner so it fully covers the plastic snapback closure from edge to edge — essentially creating a seamless, 360° continuation of the sweatband.
– OPTION 2 : To install the liner using the single adjustable snap closure, secure the liner’s hole cutout over the first snap on the back of the closure, fold the tip edge over, lay the liner along the closure’s edges back to the starting point, and trim any excess liner unit it aligns perfectly with the edge of the sweatband.
Fill Any Gap: If there’s a “SNAP-GAP” between the first snap and the edge of the sweatband due to hat sizing, you can fill that void with a 1.5mm (level 3) snapback liner, trimmed to fit.
5. Final Bonding:
🔥🌡️ Heat Activation (Recommended)
For maximum hold, apply low heat with a mini-iron after installation. The acrylic adhesive responds to heat, helping lock the liner in place for a stronger, moisture-resistant bond.
| Weight | 0.2 kg |
|---|---|
| Levels | Level 1 (0.5mm), Level 2 (1.00mm), Level 3 (1.5mm), Level 4 (2.00mm), Level 5 (Custom) |
Related products